The Quilted Cow St.Peters Mo
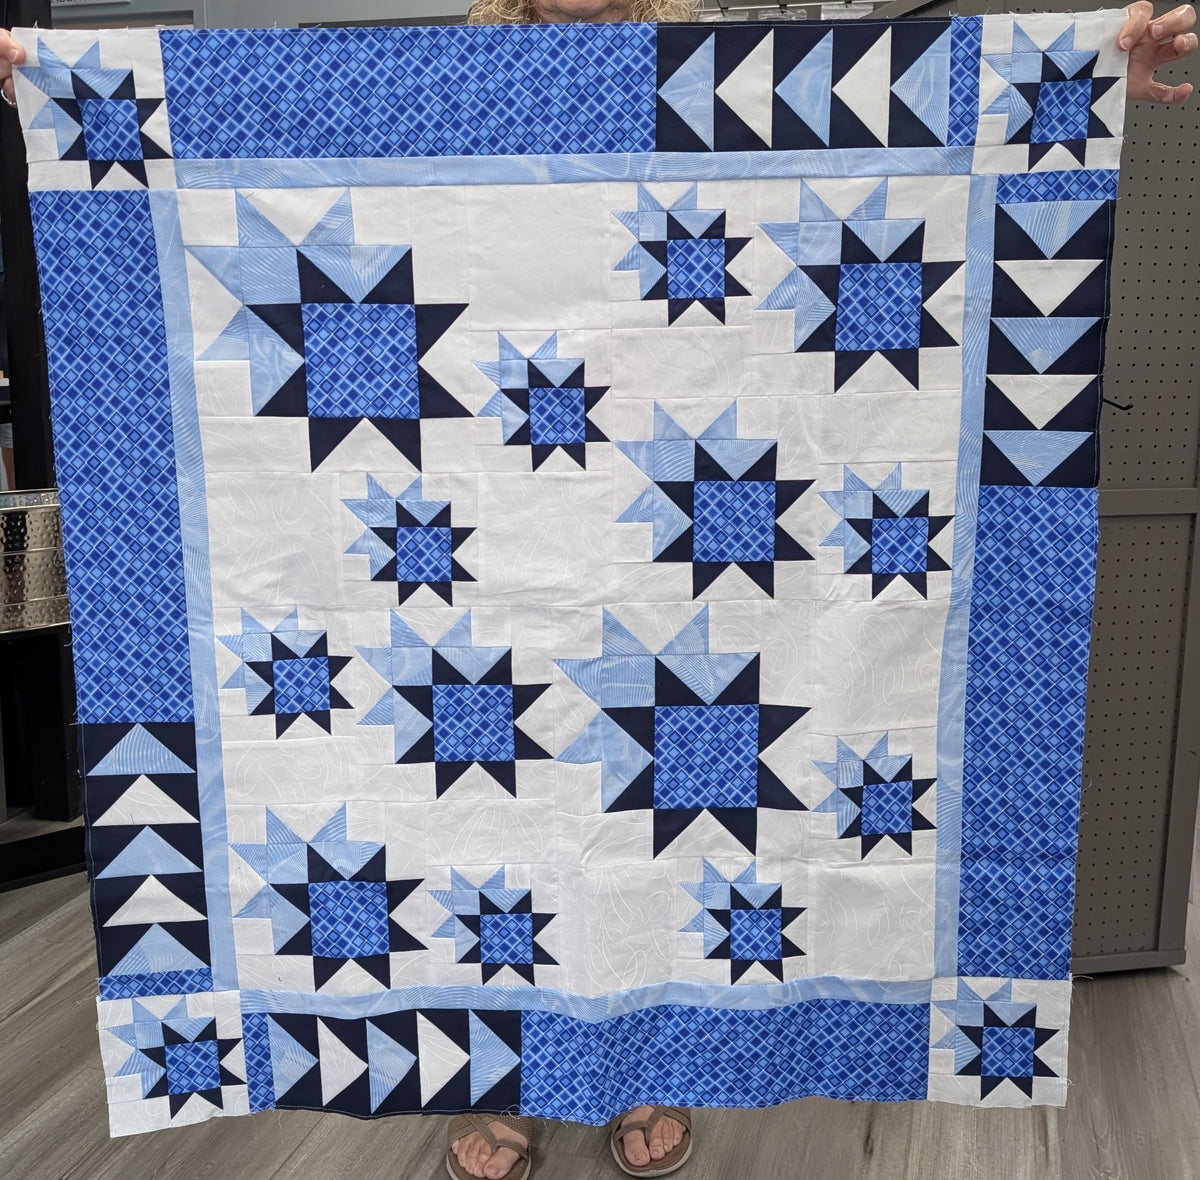
Star Shadows - Flying Geese Skill Builder Class
Star Shadows - Flying Geese Skill Builder Class
Come join us for the Star Shadows - Flying Geese Skill Builder Class
🧵 Class Details
📅 Thursday September 26th and October 17th (2 day class)
🕙 10 AM – 3 PM
📍 The Quilted Cow – St. Peters
Welcome to the Star Shadows Quilt Class, we will be using a flying geese ruler which is another basic unit in quilting. There are several ways of making flying geese but we are going to use the "quick method" that makes 4 at a time. You will need to purchase one of two rulers, either the Wing Clipper I from Studio 180 by Deb Tucker OR Creative Grid, Ultimate Flying Geese tool. They work the same, I use the wing clipper as I have had it for several years, it came out before the creative grid version, but both are very good to add to your quilting toolbox.
As with all of my classes, you will need to bring sewing machine, thread color of your choice, scissors, rotary cutter, pins, clips, seam ripper, marking pen that is easily removed, either by heat or water, and a marking tool to mark the quarter inch such as the ones sold at the cow or the quilter's magic wand. We will be ironing some, so feel free to bring your travel ironing station, but irons are available in the classroom. We also will be using cutting mats, so if you have a small one that you'd like to bring, that would be great.
FABRIC NEEDS:
Background (bkgd) 1 yd
Star Centers: 1 yd, this includes binding
Medium color (this will be the "shadows") 7/8 yd
Dark (dk) color (this will be the star points) 7/8 yd
I am generous with these amounts so should have enough for oopies!!
With this quilt, I'm doing things a bit differently. I rewrote the entire pattern and I'm hoping to help you organize this process. I do this with many of my quilts, and this may give you an idea of how you can manage your quilts. This is only a suggestion, not mandatory.
I use Ziplock bags, quart size for these smaller quilts, sometimes gallon size. I label each bag with painters' tape that I write on such as block 1, block A, or whatever. Then when I'm done with that section, remove tape and it's ready to re-use. Ive seen others use plastic report covers, envelopes, clips, etc. Just whatever works for you. So, label 7 bags (or whatever you use) 10" FG, 7 ½" FG, 5"FG, 10" block, 7 ½" block, 5" block, and borders. I'll be telling you what to place in each bag as you cut.
Prep your fabric with your preferred product, press and then you are ready to cut. Again, this is not mandatory but helps in your overall sewing. Be sure and bring your scraps to class.